How To: Drop Rig Recordings
Legal issues, required gear, real world examples and more, all covered in this guide to drop rigs!
Drop rig recordings are ones made in the field without the field recordist present. The gear is setup and left behind to capture whatever sounds may occur while the recording is rolling.
There are many pros and cons to this field recording technique and this post will walk you through everything you need to know before attempting one.
Why Use A Drop Rig?
Drop rigs are a great way to capture natural soundscapes.
In this case, natural doesn’t mean nature, but rather the “normal” sounds of a place, uninfluenced by the presence of a field recordist.
When a field recordist is present, people and animals will react to their presence and may not act naturally.
Drop rigs are also perfect for recording very long takes that would be extremely difficult otherwise.
For example, I often use drop rigs to record nature sounds for 12 hours straight. It would be almost impossible to remain present for this period of time while remaining perfectly quiet and still to prevent my sounds from polluting the recording.
Is It Legal?
Most jurisdictions in the United States have a clause for a “reasonable expectation of privacy.” This clause prevents recording any form of media without the consent of all parties.
So what does this mean?
You cannot record sounds in areas where a reasonable expectation of privacy exists. Areas that have this expectation include:
Places of residence
Hotel rooms
Certain public places such as restrooms
Some areas of jail houses
Phone booths
Enclosed tent on public lands
If you wish to record sounds at all in these areas, unattended or not, you must have written consent from all members within that area.
Areas without an expectation of privacy include:
Curbside areas
Areas visible by flyover (using the naked eye only)
The "curtilage" beyond a home area (unfenced areas)
Various public areas
But what about natural areas?
Natural areas including forests and wilderness regions fall into a gray area of the “expectation of privacy” clause when recording nature sounds is the intention, not eavesdropping.
Of the two, wilderness regions have more protections for the individual’s privacy but most laws do not explicitly mention sound recording.
More over, in United States vs. McIver, the court upheld the Forest Service’s use of surveillance cameras in the forest to identify McIver and his accomplices as they tended to transplanted marijuana plants in the public space.
If you’re not sure if you’re allowed to record sounds in a natural area, consult your local laws or contact the forest’s management team. You will most likely receive permission to record and may even be granted special access into the park outside of normal operating hours (a major plus for recording in popular parks).
In any case, people seek natural spaces for solitude and privacy. If you happen to record any human voices in your drop rig recordings, please follow the best practices listed below to respect their privacy.
Best Practices
If you setup enough drop rigs, you’ll eventually capture human voices. When this occurs, please follow the best practices below to protect their privacy.
Do not listen to recorded conversations
Delete all recorded conversations
Never release recorded conversations to the public
Post signs stating that a sound recording is taking place
When reviewing drop rig recordings, identify areas in the spectrogram that look like human voices. Human voices have a unique spectral signature that makes them easily identifiable without having to listen to the recorded audio.
Select these areas and promptly delete them.
If you’re unsure if the highlighted region is dialog, select a small snippet (one second or less) and have a listen. If it’s a natural sound, congratulations, it’s probably a very interesting animal. If not, delete the entire segment with the spectral signature.
This should go without saying, but never release any recordings with human voices unless you have their written permission to do so.
To be as transparent as possible, try posting signs that clearly state an auditory, wildlife recording is taking place before and after your drop rig location. Be sure to include a phone number for people to contact you if they have any questions or concerns.
Be Prepared To Lose Gear

No Sony D100 was injured in the making of this image, but it could happen, and is why I never use my D100 for drop rigs.
Drop rigs can be costly endeavors for many reasons. Your gear can be lost, damaged or stolen.
For these reasons, never leave any gear unattended you can’t afford to lose.
If you place your drop rig off the beaten path, there’s a chance that you won’t be able to find that same location upon returning. Avoid this by dropping a pin at the coordinates of your drop rig location.
By leaving your gear out in the elements, you run the risk of damage caused by water or physical damage if your rig falls to the ground. Always be sure that your microphones and recorders are protected from these pitfalls before leaving the field.
If your drop rig is discovered by a malicious person, they may steal your equipment. It’s unfortunate but it does happen. To avoid this risk, pay special attention to the camouflage section of this guide.
By adhering to these methods and acknowledging these risks, you won’t be upset or broke if you have to replace anything.
Gear
If you’re already a field recordist, you’ll probably have most the gear necessary for making a drop rig recording already. Here’s what you’ll need:
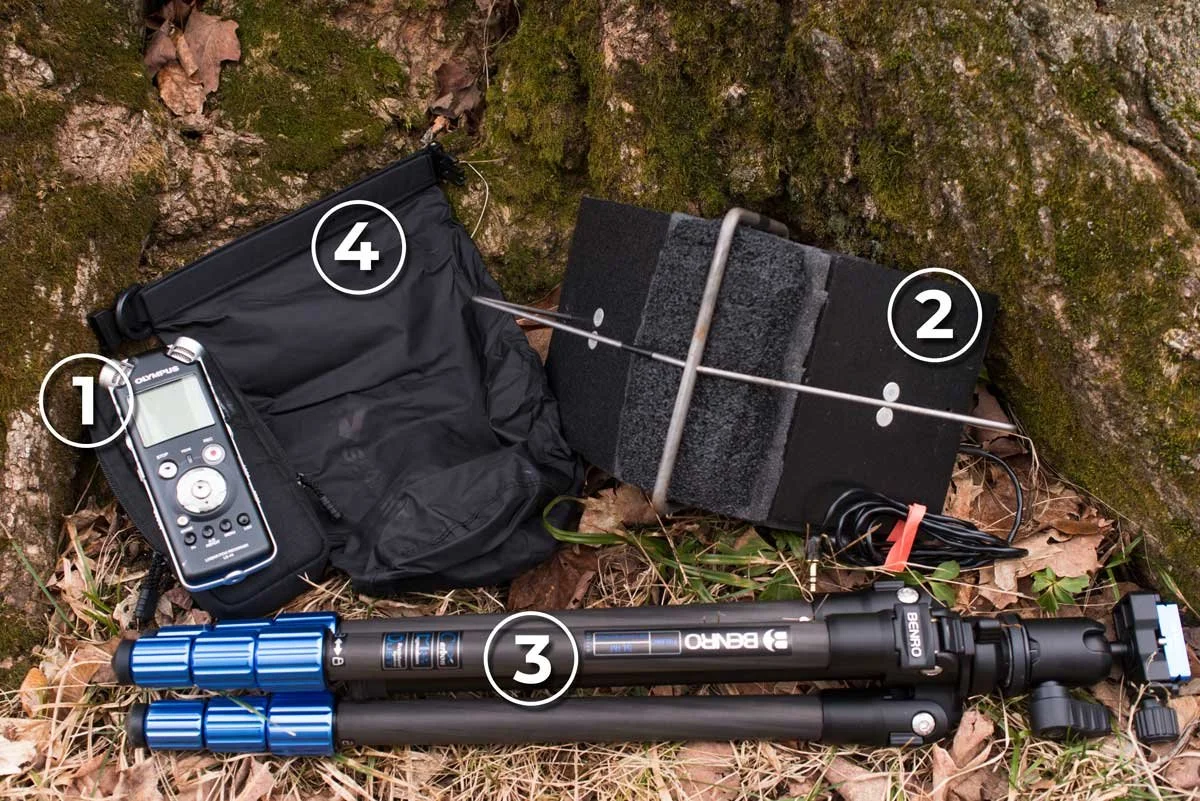
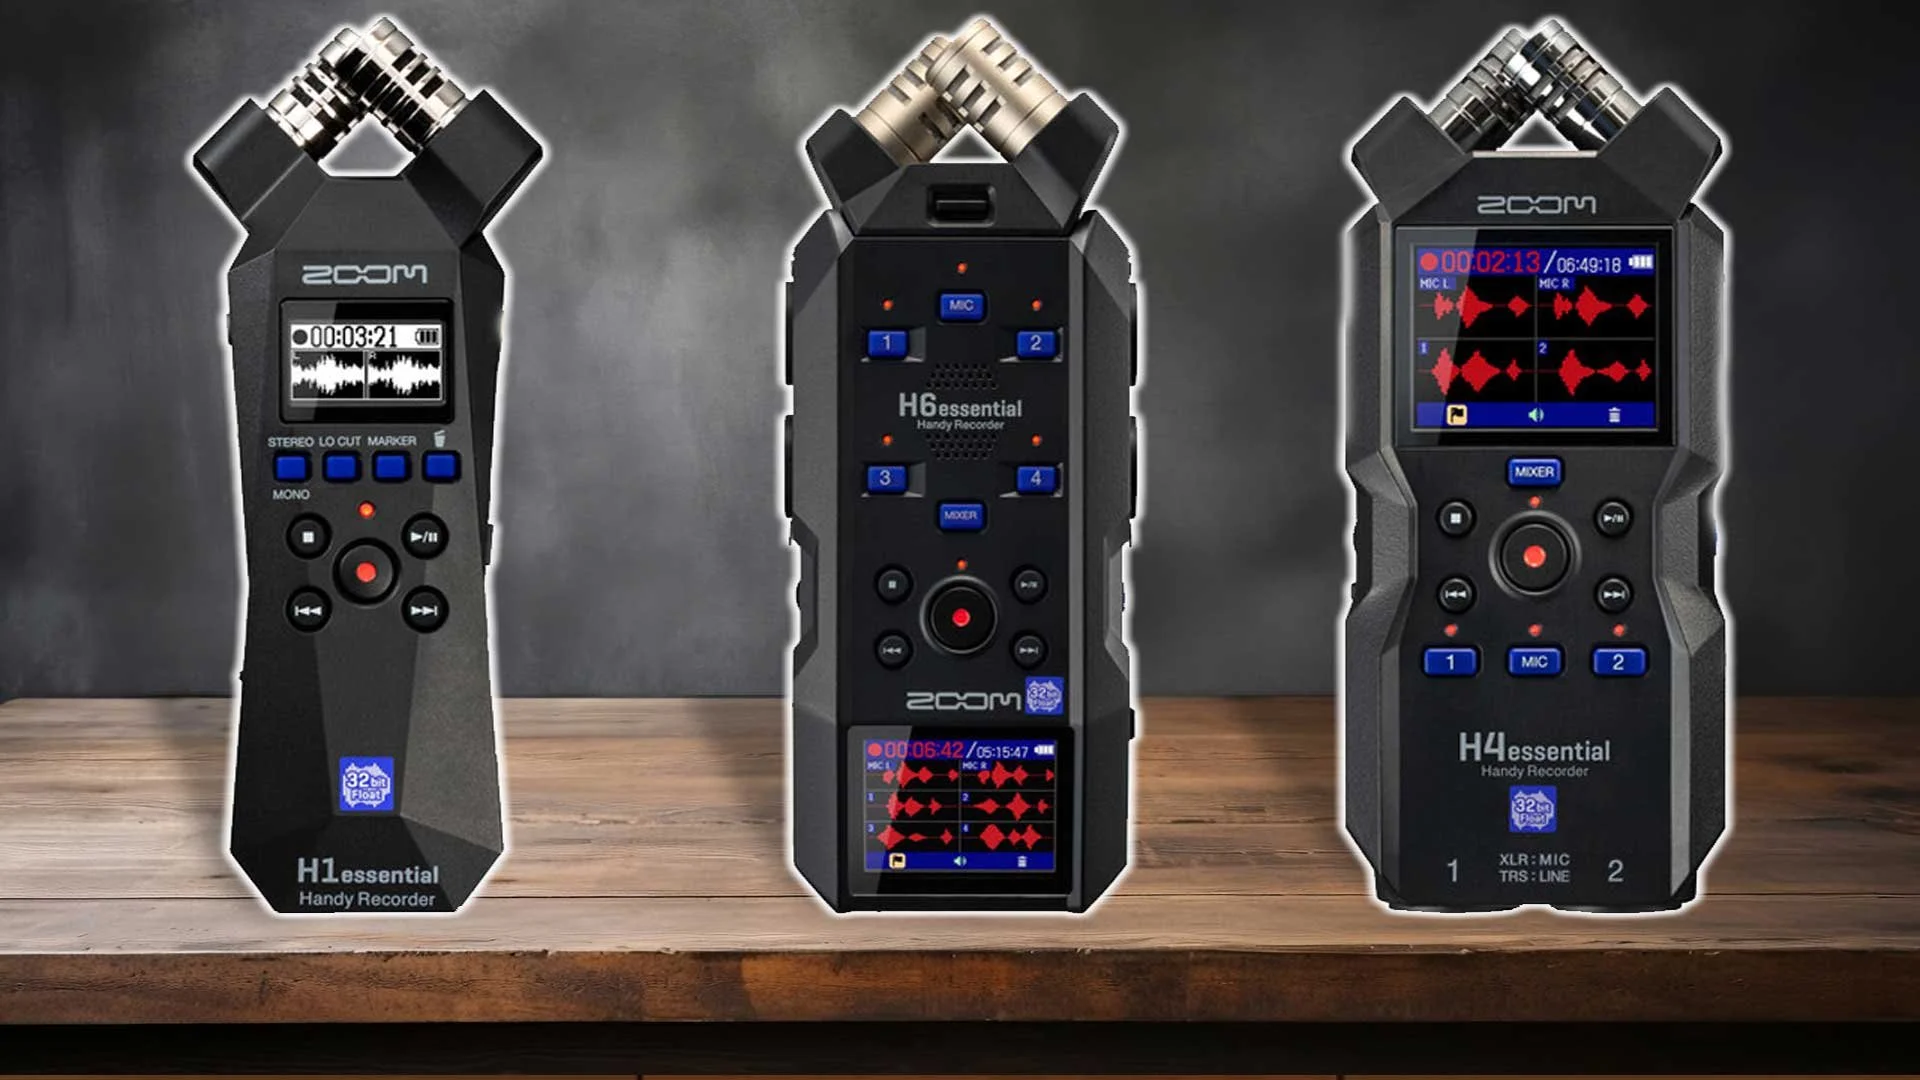
Recorder: something to record with.
External Microphones: even if you’re not expecting rain, morning dew can ruin your recorder. External microphones are more resilient and easier to protect from the elements.
Tripod: since you won’t be in the field to hold your gear, you’ll need something to support your equipment.
Waterproof Bag: used to protect your recorder from the elements.
Recorder
The best recorders for drop rig recordings are inexpensive and small.
By using a cheap recorder, if the rig becomes lost for any reason, you won’t be out a lot of money.
Small sized recorders are better suited for drop rigs because they can be easily hidden.
Sometimes I use a Zoom H1n for this purpose but most of the time I use an Olympus LS-10. The LS-10 has very low noise preamps and goes for $100-$150 on eBay.
External Microphone
External microphones are essential to any drop rig recording. Sure, you can use the internal microphones of your field recorder, but that means you’re leaving your recorder open to the elements.
Even on sunny days, a surprise rain storm is possible and if you’re leaving your drop rig out overnight, morning dew will condensate on your recorder, possibly ruining it.
External microphones give you peace of mind knowing that your recorder is safe.
Additionally, external microphones, like the EM272 capsules, offer a large increase in audio quality over the internal microphones of most portable field recorders. Their ultra low-noise performance competes with condenser microphones costing upwards of $1,000!
Here’s a link to a pre-built stereo pair of EM272s. Here’s a link to just the capsules if you’d like to build your own mic to your custom specifications.
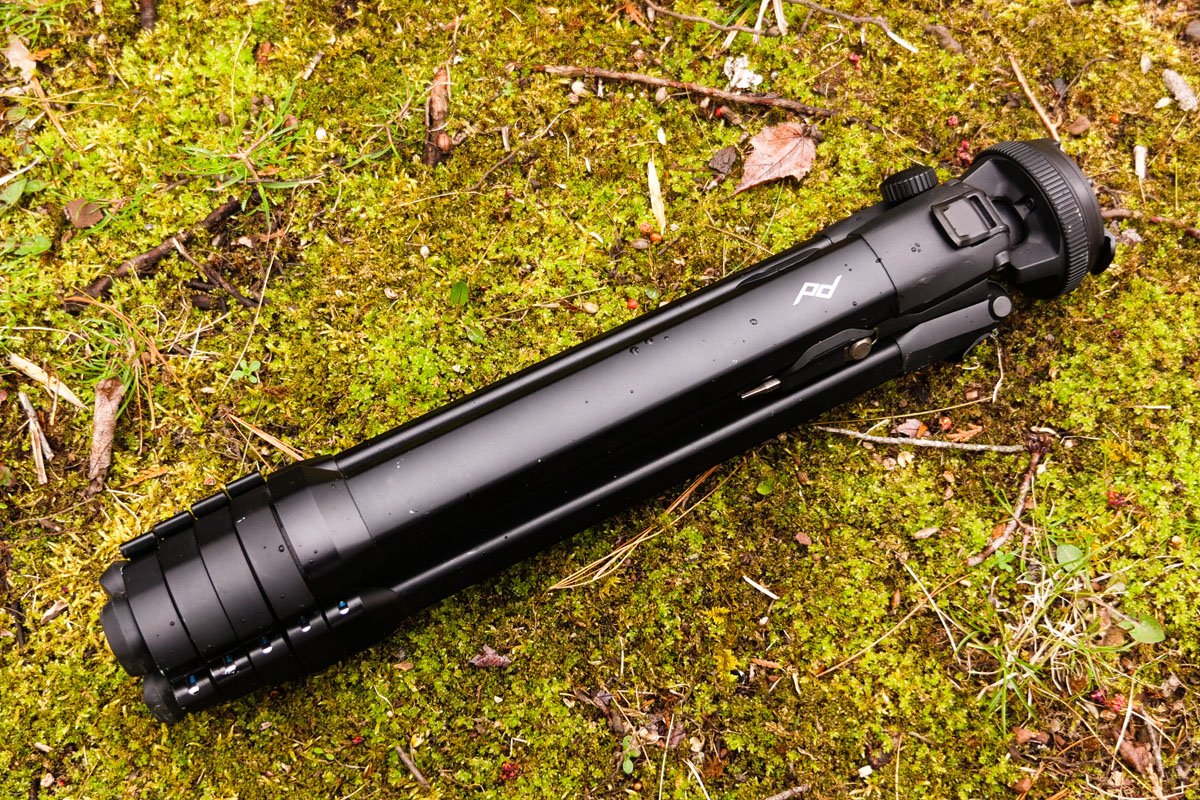
Tripod
For holding your gear safely while you’re gone, you can’t beat the stability of tripods.
In some cases, a mic stand will get the job done, but in my opinion, tripods are always better. Here’s an article explaining why.
If you don’t have a long way to travel to your recording location, I recommend using an aluminum tripod. They’re heavier than their carbon fiber relatives but will hold your equipment steady in winds and on severe grades. My aluminum tripod of choice is the Benro Adventure 2.
If you have far to travel, check out carbon fiber tripods. They’re much lighter and will make your trek easier. I use a Benro Slim on my backpacking trips. If you have a larger budget, the Peak Design Carbon Fiber is regarded as the best in the business.
Waterproof Bag
The waterproof bag will house your field recorder and keep is safe from any moisture.
For small handhelds, I use a 2L sized Sea To Summit drybag. I own 3 of them and haven’t had any of them tear or leak after 2 years of use. I also really like the buckle clasp which enables me to clip the bag to my tripod for an easy mounting solution.
Real World Examples
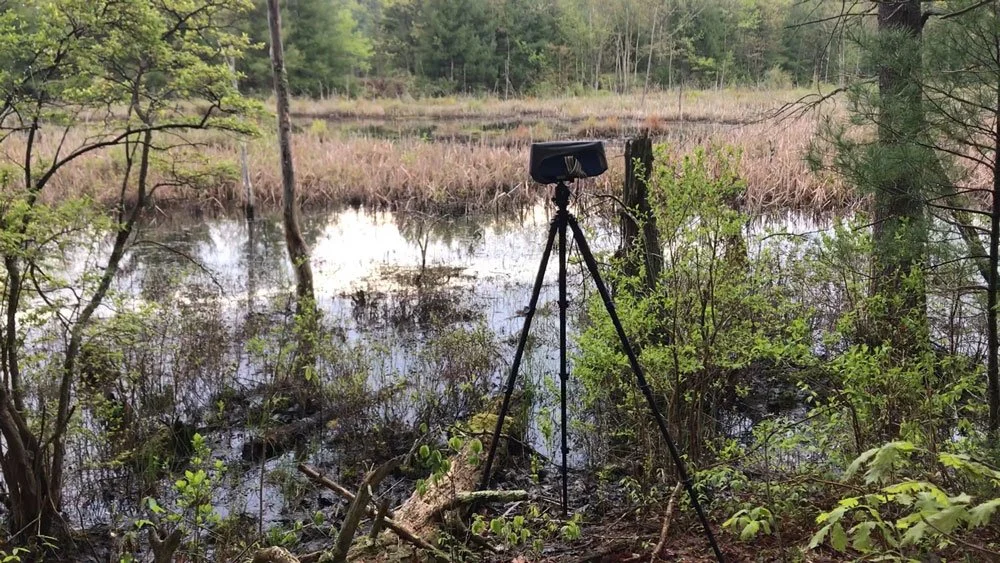
Tripod-mounted drop rig example with SASS microphone.
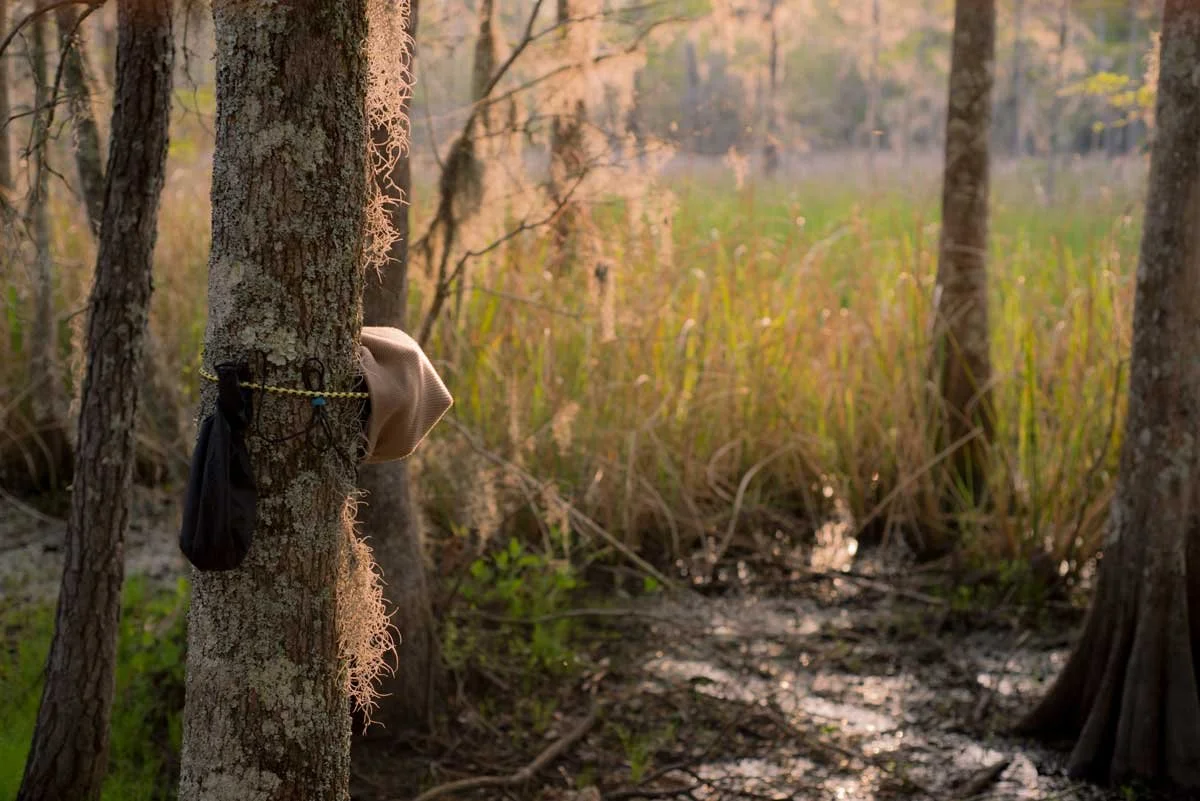
Tree-mounted drop rig with SASS microphone secured with bungee cord.

Ultralight drop rig with EM272 stereo pair with Windbubble (size 4) windscreens mounted to tree with bungee cord.
Camouflage
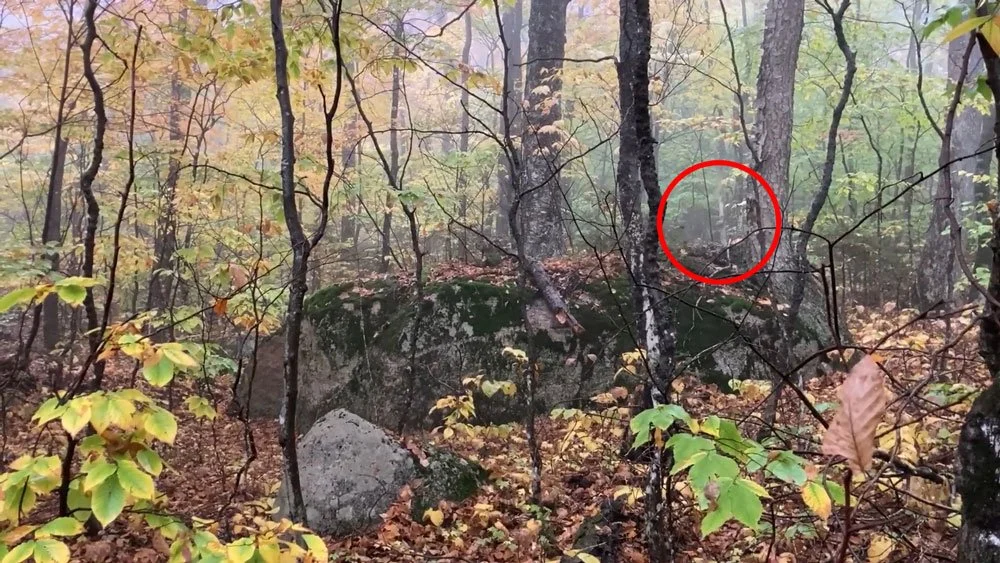
View from trail of camouflaged drop rig.
Making your drop rig blend in with the surroundings has 2 benefits:
Allows for more “natural” soundscapes
Limits the risk of theft.
A well camouflaged drop rig won’t be noticeable by people or wildlife. This is a major key to capturing soundscapes as naturally as possible. If your subjects don’t notice anything “off” about the area, they will carry on acting as they normally would.
Camouflage can also prevent your equipment from being tampered with or stolen. If they can’t find it, they can’t steal it.
Tips for camouflaging your drop rig:
Use a drybag and windscreens that match the colors of the surrounding area
Position drop rigs out of direct sight from paths and trails
Use natural cover as much as possible (tree holes, trees, dense vegetation, elevation changes)
Techniques
The following are techniques that I’ve found useful in the field when setting up drop rig recordings.
Have a goal in mind
Research
Location scout
Respect the land
When setting up drop rigs, it’s important to have a goal in mind. Without a goal, you’ll be somewhat lost in the field with scattered thoughts and too many options.
Setting an intention will force you to think more critically about your drop rig and will result in better recordings.
Once you have your goal, research your subject. Learn the times and locations your subject is most active. This will give you the best chance at actually recording it. It may be helpful to ask yourself the following questions:
what time of day does it make sound?
where does it live?
what habitats does it prefer?
are its sounds seasonal?
Answering these questions will create guide to recording your desired sound.
After you’ve done your research, it’s time to do some location scouting. This means visiting perspective recording locations where your think your subject might be. Pay special attention to habitat requirements and landscape features conducive to your sound.
While it is possible to location scout and record in the same day, I recommend you dedicate an entire day to each. Getting to know a landscape is the most important step in capturing amazing sounds and cannot be overstated.
Lastly, if you are setting up a drop rig in nature and must leave the trail, be respectful to the habitat. Tread lightly, avoid stepping on any vegetation and go out the way you came in. Following these practices will minimize your impact on the land.
Final Thoughts
While drop rigs can yield incredible recordings not possible by conventional methods, there are quite a few risks involved.
Set yourself up for success by following your local laws, preparing for the risks and researching your subject.
I hope you’ve found this article useful.
If you have any questions or comments, please leave a comment below or contact me.
Support Acoustic Nature
If you enjoyed this post and would like to help support Acoustic Nature, please consider "buying me a coffee" or becoming a Patreon with the buttons below.
As a thank you for your support, Patreon supporters receive a copy of Field Recording For Beginners, exclusive access to the full Behind The Sounds video series, nature sound library downloads, and more.
If you are unable to support the site financially, please share this post with others, or leave a comment below letting me know you enjoyed this post! Both are free and help the website grow. Thank you ♫
Thanks for reading,
-Jared