How to Save Battery & Record Longer (Guide)
Learn battery saving techniques that will keep your recordings rolling.
There are many settings you can change to make your device more efficient.
I have always been a power saver. I drove my family crazy by turning off the lights whenever a room was empty. Any appliance with lights that remain on even when off gets unplugged immediately after use. I even wash my clothes and dishes late at night and early in the morning when electricity is cheaper. When I got into field recording, those power saving habits followed.
Over the years, I’ve learned how to optimize my settings, habits and equipment for maximum battery life. Some methods are obvious, but some you may not think about. In this article, I will share these techniques with you.
Field Recorder Settings
A lot of power saving ability is located in the settings of your field recorder. Most field recorders will give you access to these settings, but some may be missing from your menus. Change what you can to receive a passive boost in battery life.
LED Recording Light
Turning off the recording indicator light on your field recorder will save power.
Most field recorders have a red LED light to indicate when you are recording. While this assurance is nice, is it really necessary? In my opinion, it is not. Confirming recording status is
Confirming that you are recording is as simple as pressing the record button and waiting one second to see 00:00:01 on the display. If you’re still not convinced, wait one more second until you see 00:00:02. It’s that easy.
Additionally, most of the time this LED light won’t even be visible to you. For us nature recordists, we often setup our equipment, start recording and then leave the location. Without our presence, nature acts more natural.
With more wildlife activity and closer activity, we stand a better chance of capturing something really special. If that red light is on in this situation, not only is it wasting battery life, it is alerting the animals that sees it that something is up.
Backlight
The backlight on your field recorder is a big energy draw. Only use it when you need it for maximum battery life.
This is a big one. Backlight is the illumination of your field recorder’s screen. It is extremely helpful when using your device in dim and dark lighting conditions. However, most of the time we do not need this extra brightness.
If you’ve never adjusted this setting, the factory default is usually set to 1 minute. That means that after you’ve made your last adjustment, your screen will stay lit for 1 minute. That is a really long time.
For maximum power saving, turn your backlight “off” during the day when you do not need it. Then, when recording during early/late evening or at night, change this setting to 10 seconds. I find that 10 seconds gives you enough time to set your levels and satisfactorily confirm that you are recording.
Auto Power Off
Auto power off will save your battery should you ever forget to turn off your field recorder.
Now here’s a setting we do want “on.” Auto power off will save your batteries, should you ever forget to turn off your recorder. This has saved me many times and only realize it when I go to turn on my recorder, for a new recording, and see that it’s already in the “on” position (thank you!).
Setting auto power off to 5 minutes works well for me. This gives me enough time to set my gains and fine tune my microphone placement.
Don’t worry! Turning auto power off will not power down your device mid-recording. If you are recording, auto power off will not engage. The only way your recorder will only turn off if the batteries die.
Plug-in-Power
Always keep PIP turned off when not using your external microphones.
This one is easy to forget about and you may not think of it. If your field recorder supports plug-in-power, you will have a setting for turning it on and off.
When on, your recorder will send power (1-3v) to its external microphone port. This is a large draw of power and your battery life will be greatly reduced when using these external microphones.
For that reason, whenever you are not using external microphones, make sure this setting is off! Even if you do not have microphones plugged in, if this setting is “on”, your recorder will still send power to the port.
Habits
Headphone Monitoring
Did you know that having your headphones plugged into your recorder draws power? Each ear of a headphone is a mini speaker that needs to be powered. They get this power from your field recorder.
The amount of power headphones draw depends on their impedance. The higher the impedance, the more power is necessary to power the headphones. For more detailed information on headphone impedance, see my article the best field recording headphones.
To save power, get in the habit of unplugging your headphones when you are finished monitoring your recording and you’re ready to let it roll.
Equipment
Rechargeable Batteries
When I first started field recording, I used normal, alkaline batteries. I quickly realized that I was wasting a ton of them.
After coming home from a recording outing, my batteries would be about 33% full. Instead of risking having these batteries die on my next trip, I always used a fresh pair of batteries. Soon, I had a pile of almost dead batteries that I didn’t have a use for.
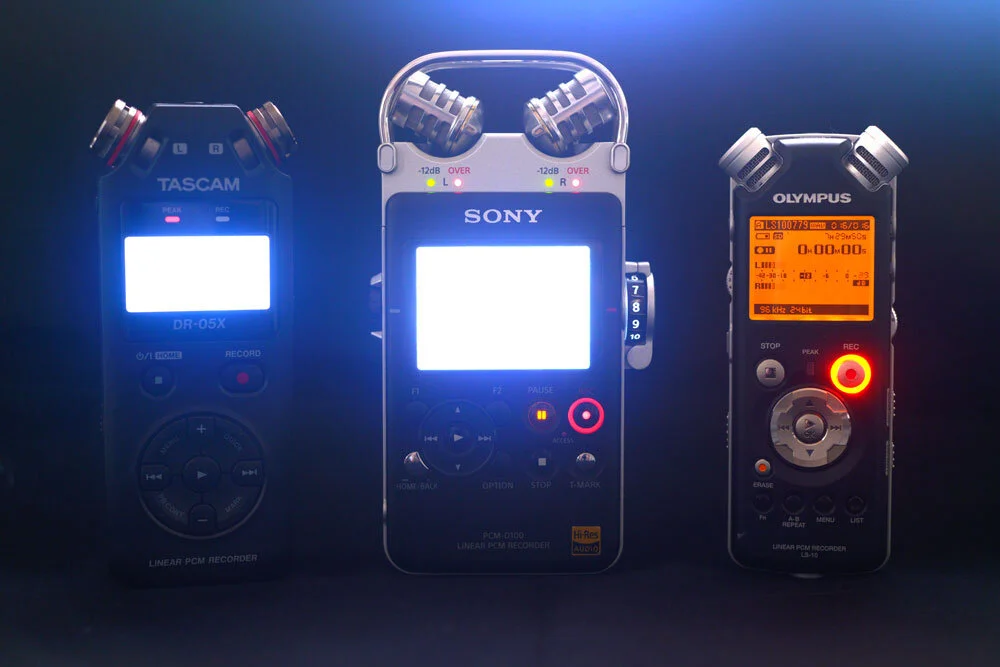
I knew it was time to upgrade my batteries to rechargeable. After researching the market, I went with this kit on Amazon. It comes with four 1300mAh, four 2000mAh AA batteries and the charger. I use the 1300mAh batteries in my Olympus recorders and the 2000mAh batteries in my Sony D100.
Using rechargeable batteries will ensure that you get the most bang for your buck. No more throwing away low charge batteries. 100% of your battery’s power will now be spent on recording.
Summary
In order to get the best battery performance while field recording:
Turn off your LED recording indicator light
Only use your backlight when necessary
Use the auto power off function
Turn off PIP when not using external mics
Unplug headphones when not in use
Invest in rechargeable batteries
I hope that these tips will help to keep you out in the field longer!
Support Acoustic Nature
If you enjoyed this post and would like to help support Acoustic Nature, please consider "buying me a coffee" or becoming a Patreon with the buttons below.
As a thank you for your support, Patreon supporters receive a copy of Field Recording For Beginners, exclusive access to the full Behind The Sounds video series, nature sound library downloads, and more.
If you are unable to support the site financially, please share this post with others, or leave a comment below letting me know you enjoyed this post! Both are free and help the website grow. Thank you ♫
Thanks for reading,
-Jared